Showing posts with label before and now. Show all posts

Friday, September 6, 2013

Bathroom Before & Afters

It's been a LOOOOOONG time since I've posted anything about our bathroom remodels. And in all reality - I NEVER posted anything about our hall bathroom, just our master bathroom. 

Here's the big reveal of the master bathroom, and some of the photos you'll find there:


The big beautiful frameless shower door... that is currently quite soap-scumy.

But now, here are some pictures of the hall bathroom (aka the PINK bathroom). This is after we moved in and tried to make the pink "work". 

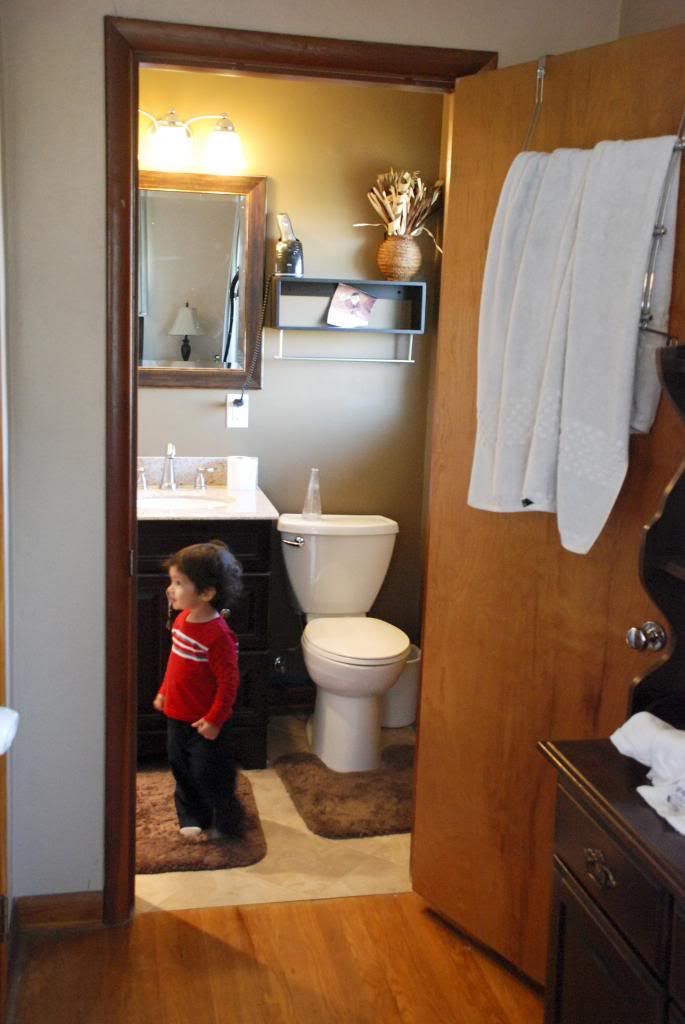
And now... the beautiful blissful new hall bathroom:
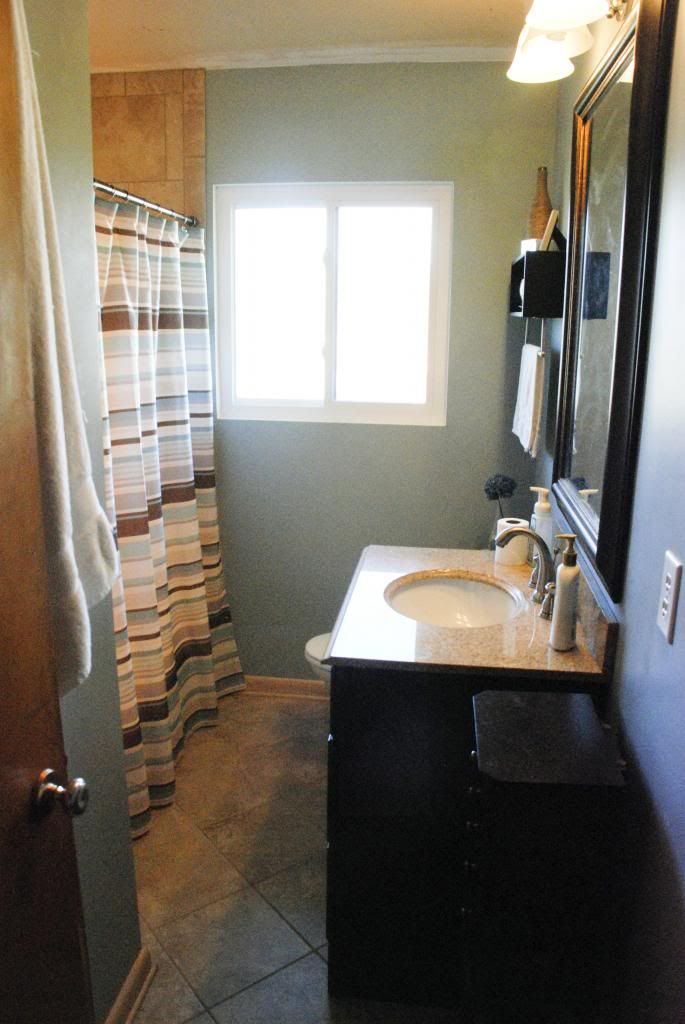
We used the same tile in both bathrooms, for the floor and the shower walls, but this one has a tub and shower instead of just a shower. The curtain was actually from my apartment, and was only supposed to be a stand in until I found something else. But it matches really well! 

The walls are a beautiful smokey blue-gray, and I loved them so much that we painted the big boy room the same color

We love love LOVE these bathrooms and are so thankful to not have pink and blue anymore! :)

Wednesday, March 6, 2013

Dining Room Shelves: {Before & After}

I love the display shelves that are in our kitchen/dining room area, but I've never really felt like I had them "styled" in the best way. My wonderful sis-in-law, Vanessa, is a PRO at styling. We tried to coordinate schedules to have her come over and help me work on them, but it never worked out. 

Then POOF! I came home from the hospital after having Miller and the styling fairy had come!! She is so sweet - she took before pictures before she started re-doing it, in case I didn't like it! (Yeah right!!)

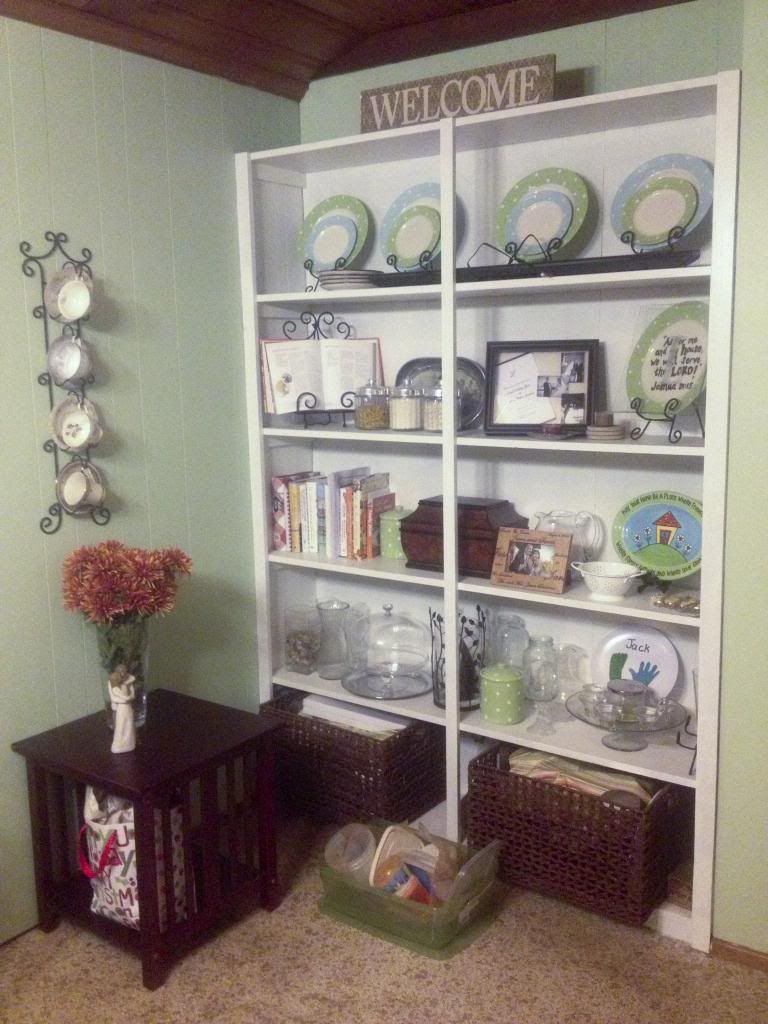
So here's my before. Fine, but nothing special. And I HATED all the mismatched glass pieces near the bottom; I couldn't figure out what to do with them.

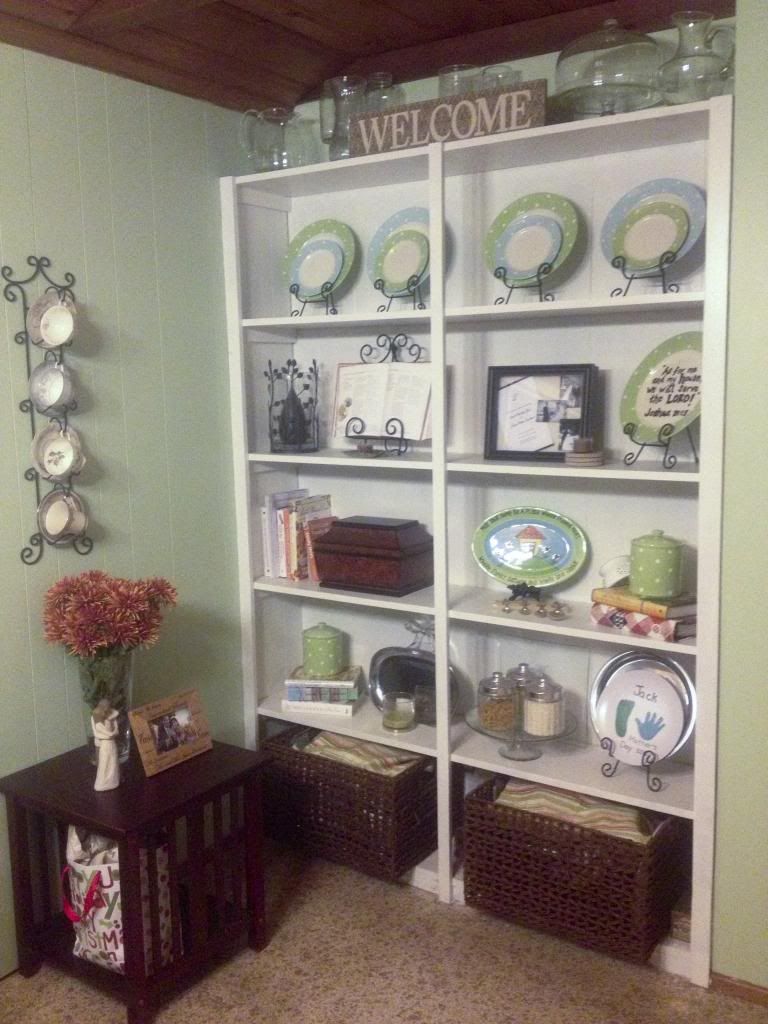
And the AFTER!! The first thing I noticed was how AWESOME all the glass pieces looked on the top!!! I hadn't even thought of that! And now the rest of the shelves don't look nearly as cluttered. I love the little "scenes" she made with the books and the green canisters. Heck - I love everything!!

Here's a side by side:

Isn't it awesome?! I love it, and I'm so glad Vanessa took a chance and just DID it for me! 

THANKS SIS!!!

Friday, February 15, 2013

Evolution of the Big Boy Room

{This is my 900th POST!!! Oh my word, I can't believe I have been blogging long enough to have 900 posts. Wow!}

Let's start at the VERY beginning, yes? Here is the back bedroom when we first bought the house 4 years ago. We affectionately called this room the Rainbow Room, and planned for it to be our office.

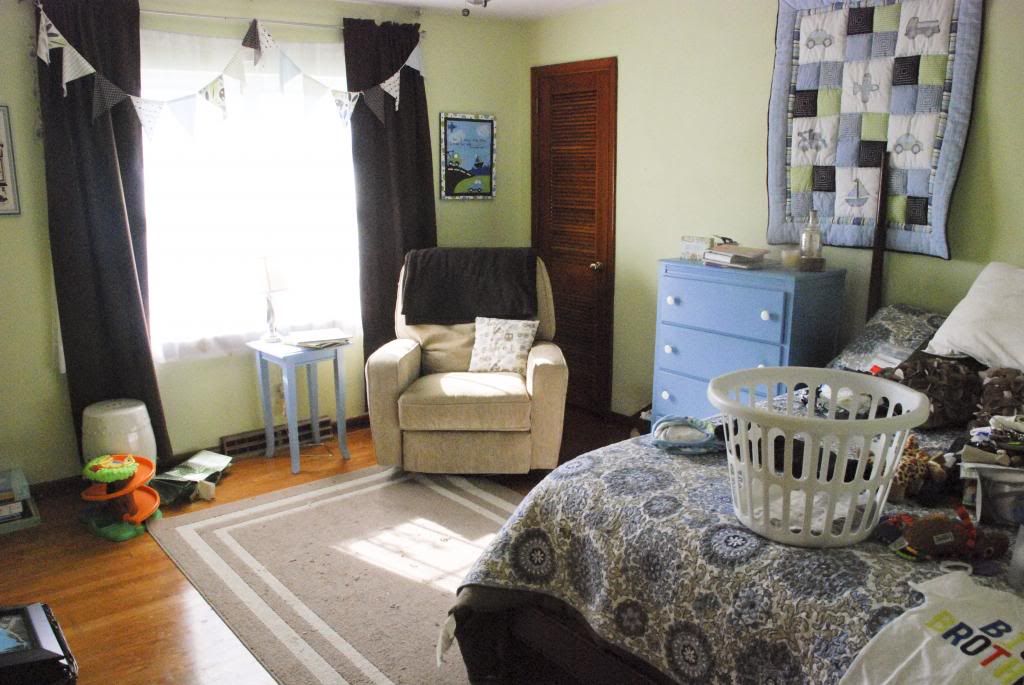
As the office it was a mishmash of furniture, and no one really used it much. 

Then we got rid of the couch and added a full sized bed to make this an office/guest room when Jack came along. As you can see with the addition of the two computer monitors and the TV, Jason actually did use this room! The bedding was from my apartment, and we actually got new bedding before we changed this to be the Big Boy Room (BBR), but this is basically how it looked for over a year.

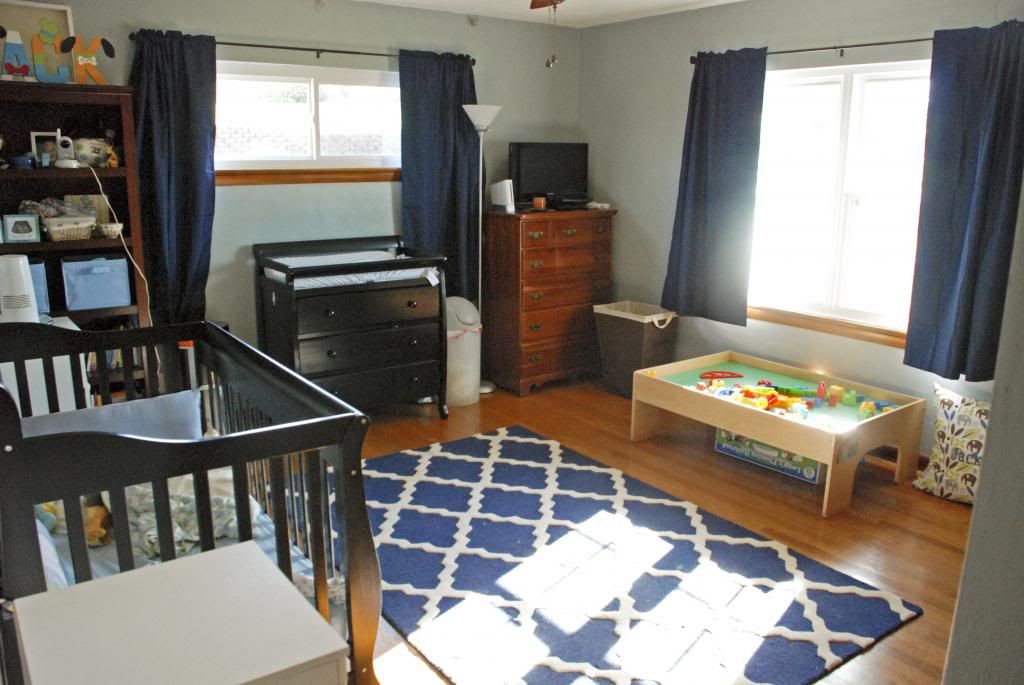
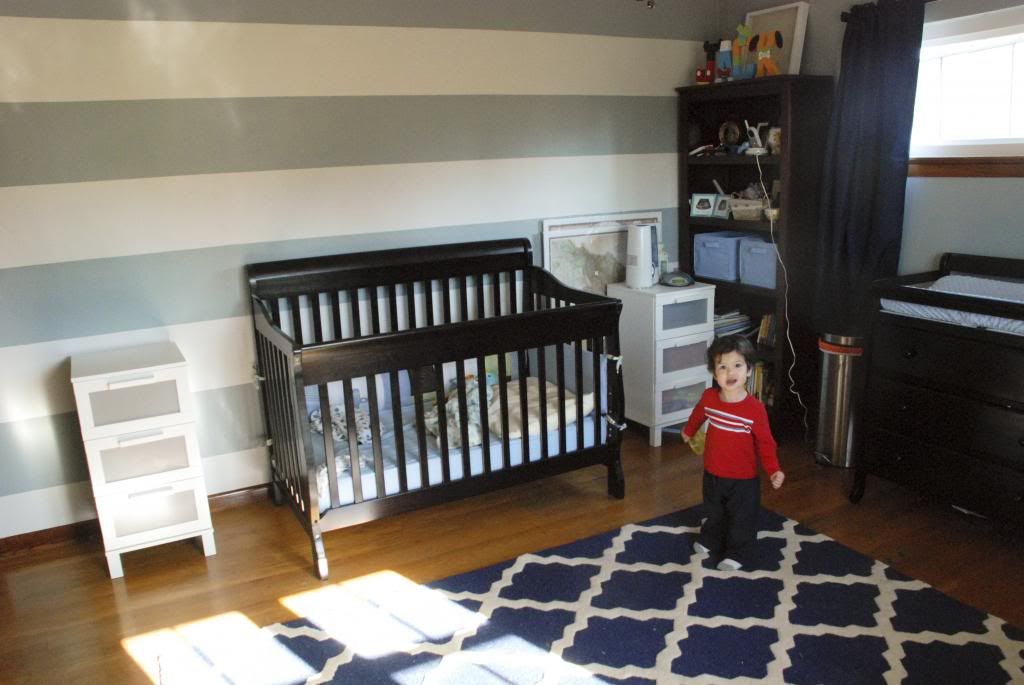
And NOW as the Big Boy Room!!
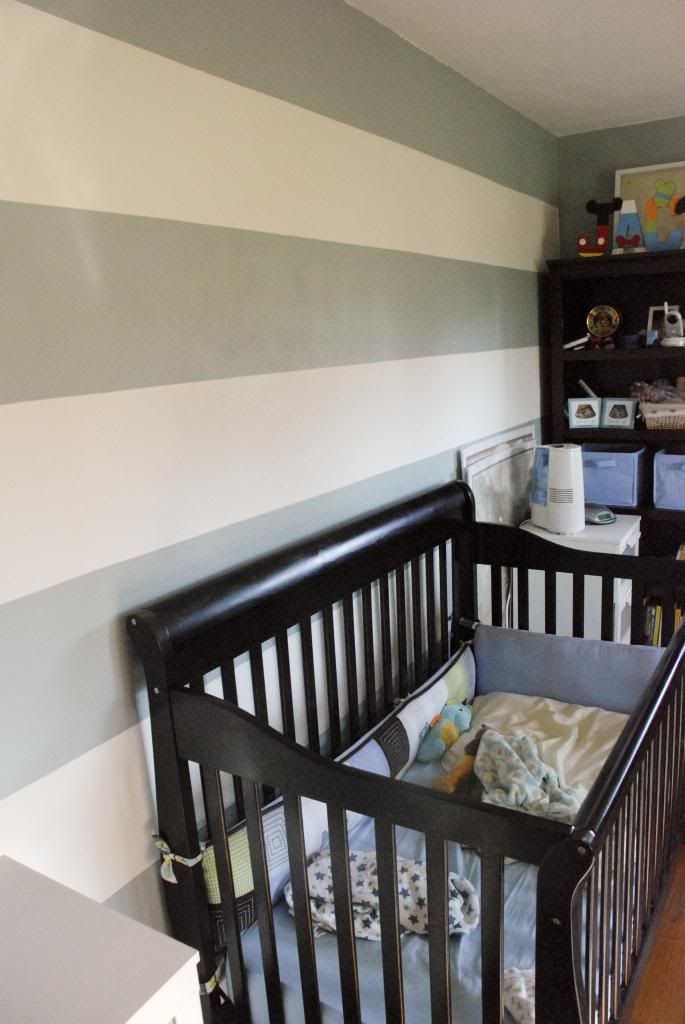
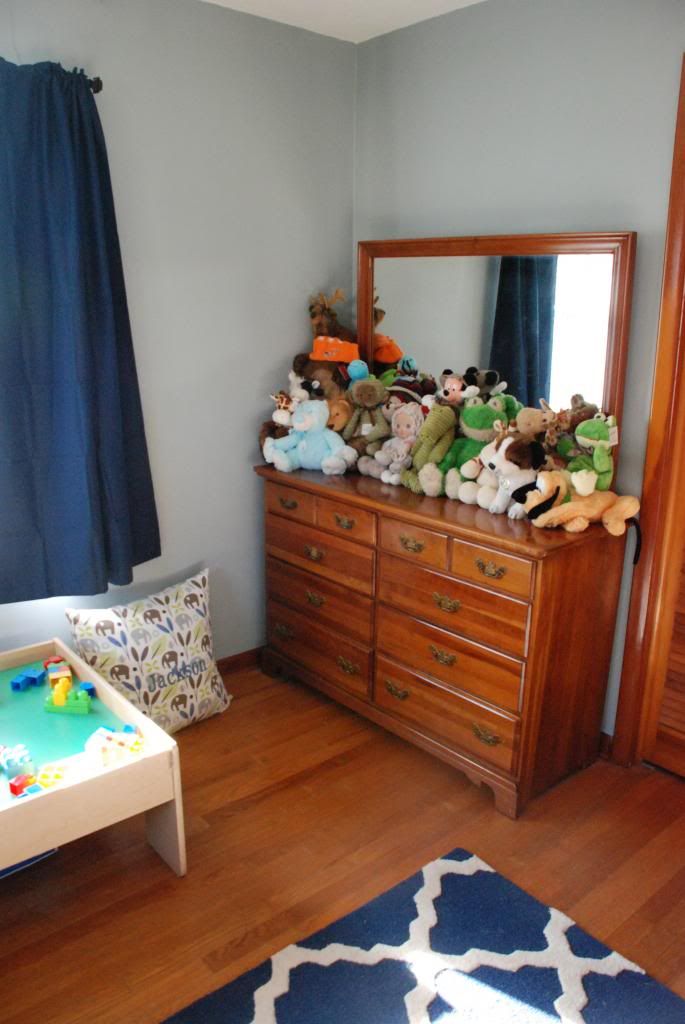
Navy blackout curtains, blue-gray walls (the same color as our hall bathroom), a fun new train table, my FAVORITE trellis rug, and some of Jack's furniture (crib, changing table, bookshelf) from the nursery. Now, I hesitated to even post pictures yet, because it's not "done" but who am I kidding - things are NEVER done around here!!

Now for my favorite view! The stripes wall!!!
I REALLY love how this turned out, but I almost gave up on it before even starting! We have plaster (read: textured) walls and trying to use a laser level to pencil in a straight line was IM-POSSIBLE!! Luckily my friend Casey's sister had written a blog post about painting stripes in her boys' room, and it was immensely helpful! Measure down from the ceiling and draw dots every foot or so, then connect the dots with tape. Brilliant! My mom painted everything else while I taped up the stripes. It took a while but I'm so glad I didn't throw in the towel! 

I have a really cool map that I got for Jason a few years ago, that I want to frame and put above the crib, along with a few other accents to make the space feel more finished. 

I was also planning to put shelves above both windows to corral all of Jack's stuffed animals, but for now, they live here. :)

And just to show you where we are in the nursery, here's a "right now" picture. I didn't even try to straighten up.
We moved the full size bed in here (see the awesome new bedding hiding under all that junk?), left the big chair, and got a crib that matches Jack's (thank you Miller family!!) which will go on the left wall. I plan to sleep in here at the beginning with Little Brother, nurse in the chair, and let him sleep in his big boy crib (which Jason will be assembling this weekend). 

We are going to play it by ear to see how long we will have the baby in here before moving the boys into a room together - probably 9 months-1 year, but we'll see. Then we'll have another furniture rearrangement and make this room more formally the guest room. Or maybe I will have already changed my mind by then. :)

And like I said, the BBR is not "finished" yet, but we're getting there!


Jack loves the "neeeeeew room" and has been sleeping like a champ in there! 

Thursday, January 17, 2013

Last Look at Jack's Nursery :(

Oh goodness. Just the title is killing me. 

I've been REALLY excited about getting the Big Boy Room (BBR) ready for Jack (and Little Brother when he's a bit older), but for the BBR to be done, Jack's nursery as it has always been, has to be dismantled a bit. :( 

So I thought I would do one last look at the nursery before we start moving things around. 
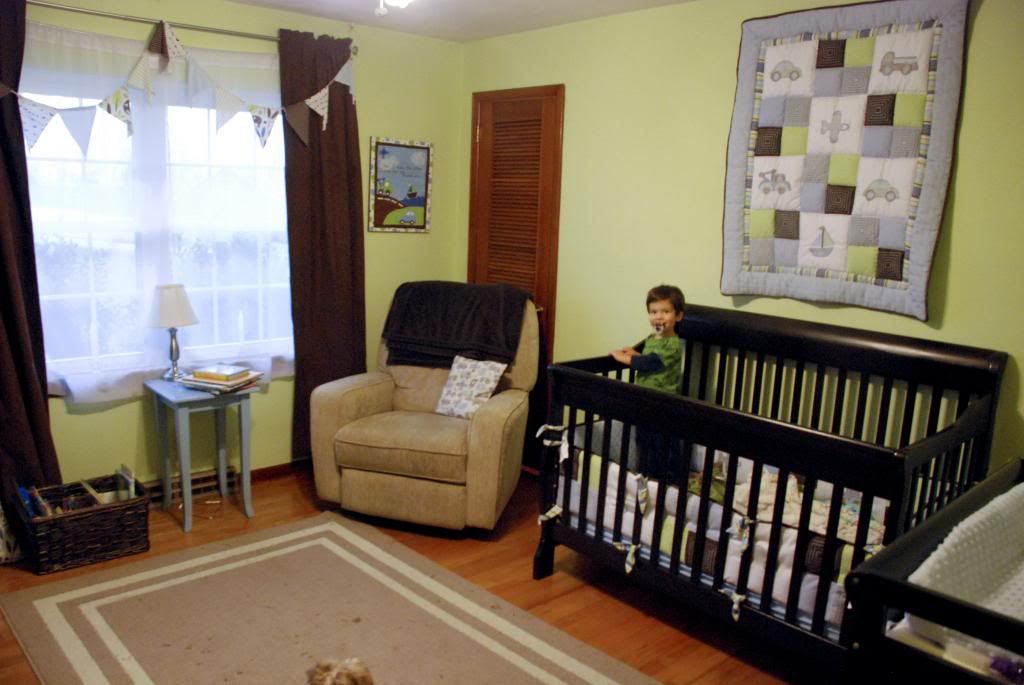
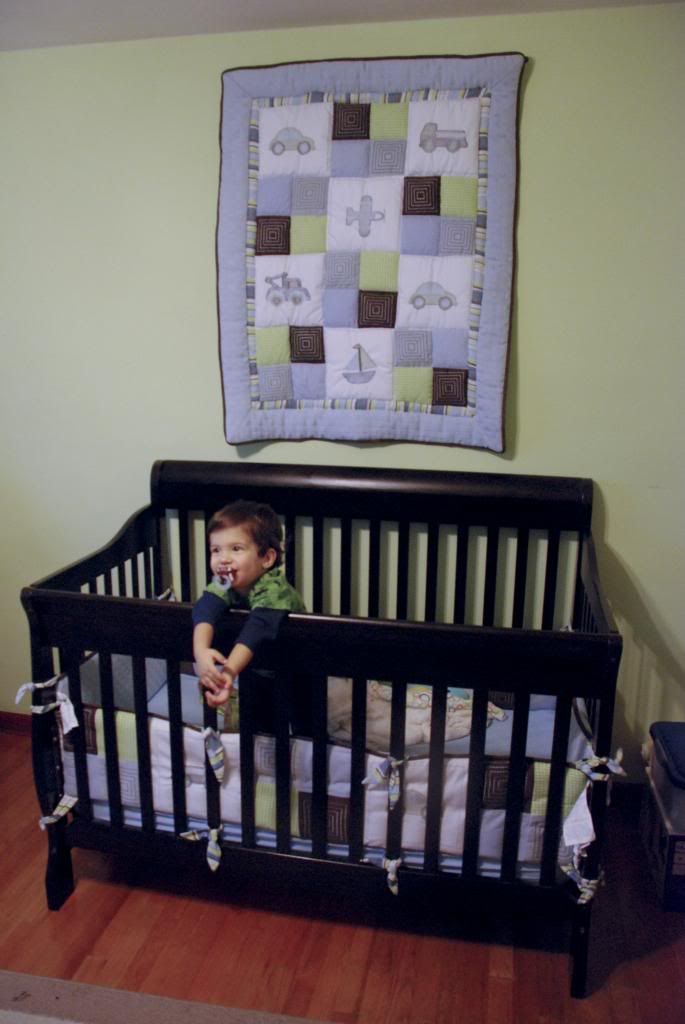
Here's what the room looks like right now

And a final video tour I did the other day:

My little boy looks SO BIG in his bed!!

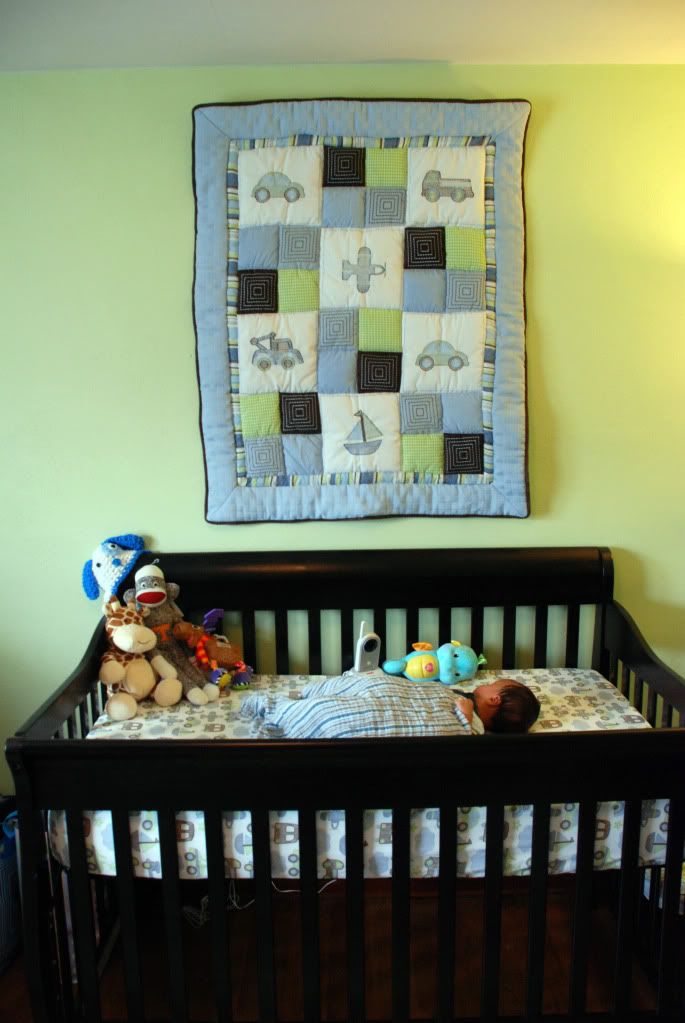
...compared to the tiny little thing he was in this picture at 6 weeks - ahh!!

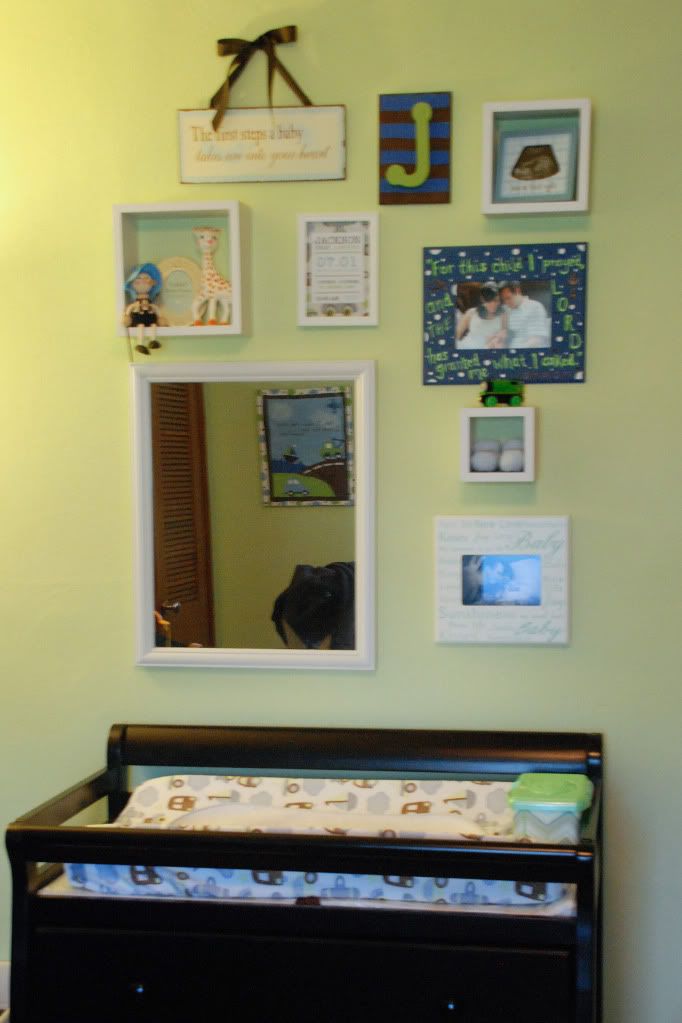
The gallery wall still looks the same as it did when I finished it - I will DEFINITELY have a hard time taking this down! (to move some of the pieces over to the BBR)

One funny change is this wall:
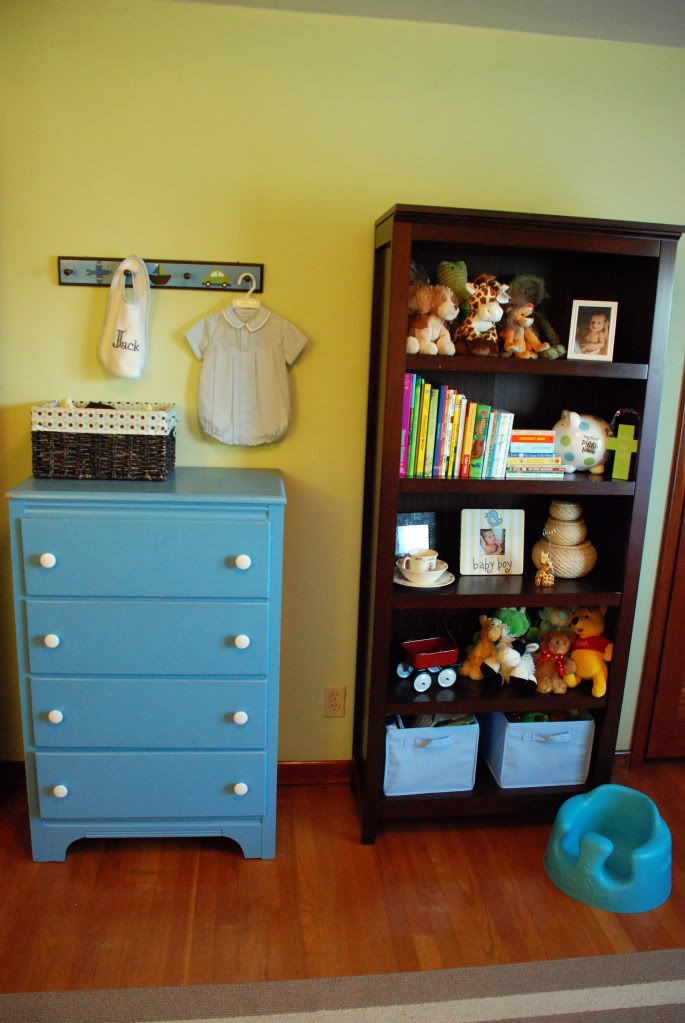
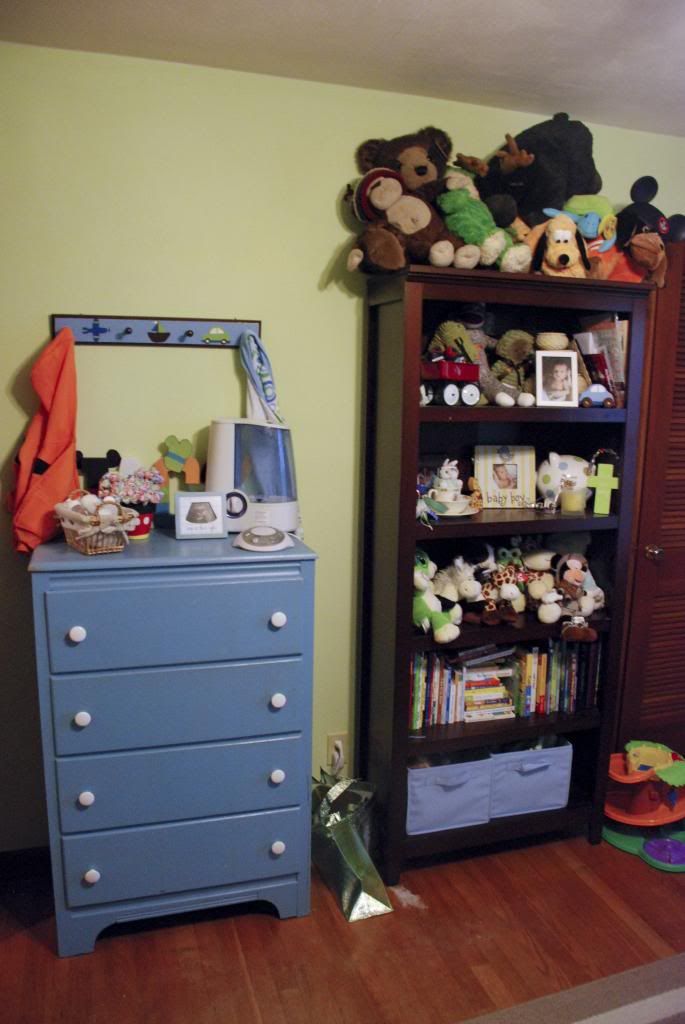
Besides looking like completely different colored dressers (the first picture is more accurate), you can tell that Little Man has accumulated a TON of stuffed animals over the last year and a half! We're going to add a new element in the BBR to corral some of these friends, so that the bookshelf can be available to hold - wait for it - more books!


Well... nothing left to do now but start moving stuff! We're going to try to move everything but his crib to the BBR and bring in the full sized bed from the office/guest room in the next few days. Then we'll let him start sleeping in the new room! He already loves it - my mom painted it and we did a cool feature wall(!!), and he goes in there all the time and says "Jack's NEWWWWW room", so I think he will be happy to move. It's just Mama we have to worry about over here!

Do you get sad when the "end of an era" comes? Surely I'm not the only sap around here...

Monday, September 3, 2012

Closet Clean-Out Pt. 1

Back in January, Cara came over and helped me get my closet in order. It was VERY needed!! Since then, I had been doing a really good job of keeping up the organization Cara helped me with, BUT in the last month or so, whenever I've put my laundry up, I just haven't taken the extra time to organize. Usually because I've got a hollerin' kiddo at my feet. :)

Plus a friend from work gave me several bags of clothes (whoo hoo!) and I hadn't put those in yet. I pulled out a lot of things (from her) that I liked, but hadn't tried them on to see if they fit/look good. 

So it was definitely time for another closet clean-out! Here's the before picture:
Not terrible but definitely not as functional as it could/should be.

Plus a lot that hadn't been hung yet.

First I went through each section (dresses, pants, skirts, sleeveless, short-sleeved, long-sleeved) and determined if I wore it enough/liked it enough to keep it. This first edit was pretty minimal - I only decided to toss out 3 pieces of clothes so far (I got rid of 3 garbage bags last time!). 

I also made a pile of things I need to try on (stuff from my friend, stuff I haven't worn in a while). My "try-on pile" is HUGE, but I decided to keep on organizing and wait until another nap-time to try on all the maybes. 

Snooker likes to help.

The biggest revelation of the day was that I had about a foot of linear space in my closet devoted to t-shirts. I'm not a huge t-shirt person (I wear them 3-4x a month, probably), so making the decision to take them out of the closet and put them in one of the (previously empty) dressers in the office was a no-brainer!

Then I was able to space out my other, more frequently-worn clothes and not feel so cramped. The other great thing about not hanging my t-shirts anymore is that I freed up a ton of my "fancy hangers". This was the before, not that you can tell too much, but I had a bunch of wire hangers and a few plastics.

Ooooh, ahhhh. Color-coded by sleeve length PLUS matching hangers? I'm all over this.

I cataloged my clothes as I went (total nerd, I know) and I realized that I have a TON of tops. I mean, visually, I know that my closet is mostly made up of tops, but I have 15 sleeveless tops (not including plain tank tops that I layer with), 27 short-sleeved tops, and 31 long-sleeved tops/sweaters. I mean, seriously people - I have no reason to say "I have nothing to wear." 

So here's the Pt. 1 "after". I still have a ton to try on (and maybe snap a few pictures? :) and then the FINAL goal of all of this is to help me make more stylish outfits (or "capsules" a la YouLookFab). 

Next time, the try-on pile and continuing to re-vamp my overall wardrobe! 

Thursday, May 10, 2012

Blue Bathroom: REVEAL!!

Whooooo hoooooo!! It's time for a REALLY good reveal! :)

Let's take a look at the "Blue Bathroom" BEFORE & AFTER:

I seriously can't believe how amazing it looks! We are SO HAPPY with the change!

Here's a closer look at the shower: 

Now, it's not 100% finished... I know, I know - it never ends! We still need to find a shelf/cabinet to put above the toilet, install a towel bar and TP holder, and touch up the paint. 

But it has come so far!!

Okay friends - what do you think?

Friday, April 13, 2012

Pantry: Before & After

At the end of March, I found out about a show called Clean Freaks (link to the whole show!) on HGTV that featured one of my very favorite blogs, iHeartOrganizing! I recorded it and I literally watched is 4 or 5 times. I was INSPIRED! 

My house was a wreck... cluttered and not clean, but this was the kick in the pants I needed to change that. I knew I had the time to do it, I just had to have the drive! I set a few realistic goals and one of them was to organize our pantry. 

Here is the before:
I had already pulled almost everything out of the bottom left before I thought "Hey, I should probably take a BEFORE picture..." There were 2 boxes of oatmeal, a box of Ritz crackers, a box of Club crackers, a cake mix & frosting, a brownie mix, a few packs of crackers, etc. etc. etc. 

Then the whole right side only has one shelf where we keep the spices and our medicines, and all our extra plastic bags. The bottom houses Dash's dog food, and a few stockpile items.

Now, before I got started on all this (and after seeing some of the AMAZING pantries on Clean Freaks - swoon!) I made a list of all the see-through containers I needed to buy to make my pantry into what it needed to be. Then when I actually started, I decided that once I decluttered and organized it, THEN I would decide what extra containers I needed.

Here's the after:
The bottom left has a little green basket full of oatmeal packets (rather than the boxes), and in the middle is a basket holding the sleeves of crackers (instead of all the boxes). Everything else is just reorganized a little bit on the left side and it looks and feels so much better! Then on the right side, I found the green container for $7 bucks at Walmart and filled it with the stockpile items on the bottom and the bags in the top drawer. 

So all in all I spent $7 on this little before and after! 
I may get some more see through containers at some point, 
but for now, it makes me happy every time I open it. :)

Have you done any spring cleaning projects?
(I know Alex has!)

LinkWithin

Related Posts with Thumbnails